Steps to create a report portal:
- Click on "report portals" in the main menu.
- Click "Create Report Portal" in the menu box on the left side of the screen.
-
Give the portal a name. This is the name used to identify the portal in your portal list. The name will not be displayed in the portal. Then click "create".

- The portal is created, and appears in the portal list. To start working with this portal, click on the portal in the list
-
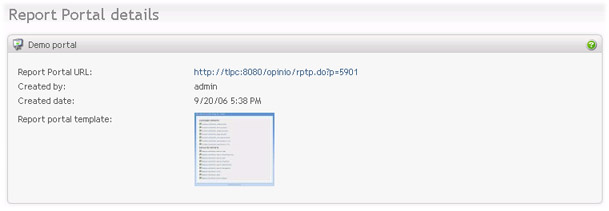
You will see the portal detail screen (below). This screen shows you the URL of the portal, that you give to the people you want to have access to it. It also shows a preview of the portal template.
-
Click "Edit report portal" in the menu box.
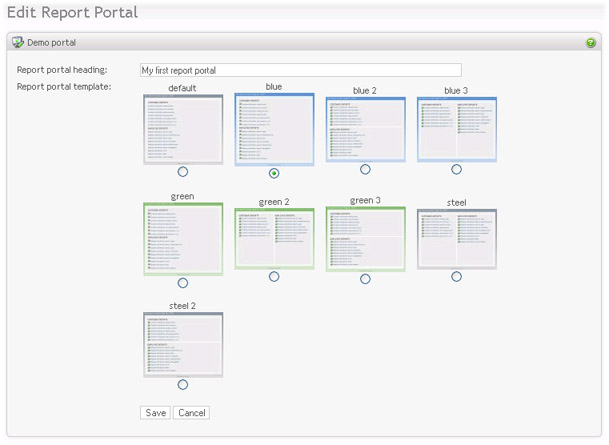
This screen allows you to set the portal heading (seen on the portal), and the template. Click "save" to make your changes persistent.
- Now you can add content to your portal. Click on "Report portal items", which will show you the list of portal items (no items yet).
-
Click "Add portal item" in the left menu
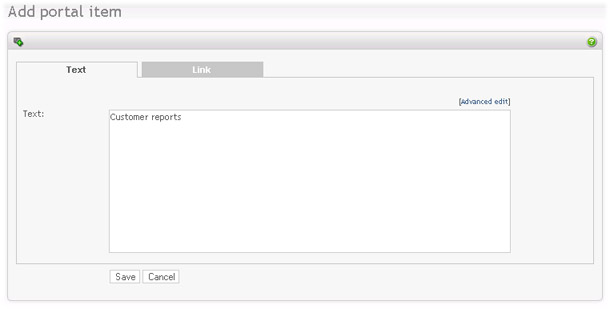
Each report portal item can be either a text item or a link. The text can be a heading, label or description. This is up to you, simply format the text in any way you like. The link can be a URL to an external resource, or an Opinio report. For example, start by entering a title: "Customer reports". Click on "save".
When in the item list again, click on "Add portal item" in the left menu again, or click "insert" somewhere in the item list if you want to add an item at a specific position in the portal. In the "add item" screen, select the "link" tab.
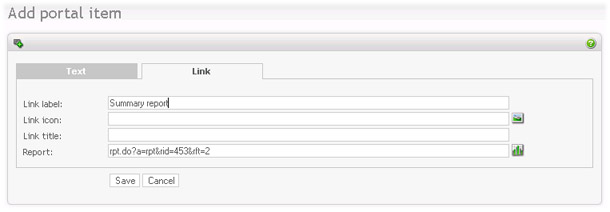
For each link-item in the portal, you can set:
- Link label (optional): Label of the link item.
- Link icon (optional): To the left of the link or label, you can insert an icon.
- Link title (optional): Title of the link. Will show as a tool tip when you move the mouse over the link item.
- Report: This is the actual report URL (link).
All link attributes are optional, except the report url.
It does not have to be a link to an Opinio report. It could be a URL to an external resource. To add an Opinio report, click on the report icon.
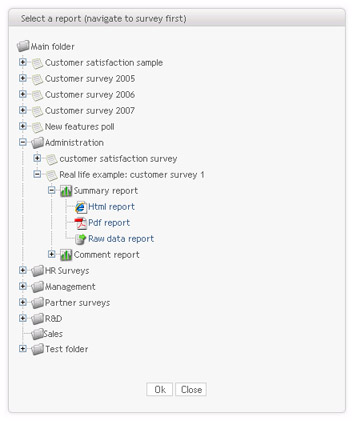
Navigate to the folder and survey where your report is located. Select the report, and then the report file you want to include. The report URL will then be placed in the "Report" field. Click "save".
You now have a very simple report portal (one title and a link to one report). Once you have more items, you can use the item list to organize your items, by moving them up and down, delete and insert new items.