This quick start guide will outline the basic steps to create a survey. For more detailed documentation, see Design a survey .
-
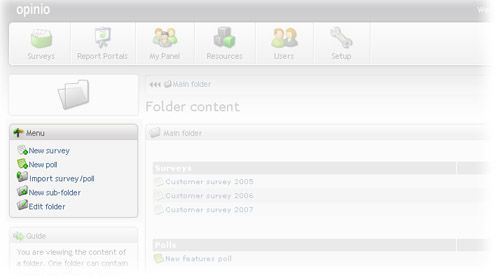
While in a folder, click on "New Survey" in the menu box on the left side of the screen.
-
Give the survey a name. The name is not visible to respondents, but is used to identify the survey in Opinio. When the number of surveys in the system becomes large, it is useful with names that are descriptive and unique. Click on "create".

- The survey is now created. You will see it in the list of surveys in the folder you are currently located. Click on the survey in the list.
-
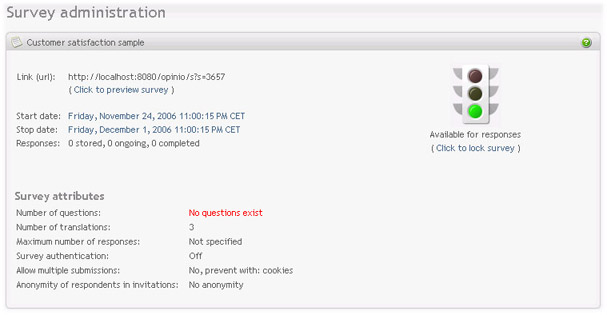
This screen is the main survey screen. It will tell you the status of the survey, and give you access to all survey functions. Let's create the questions. Click on "Questions" in the menu box on the left side.
-
This is the screen to design your question.
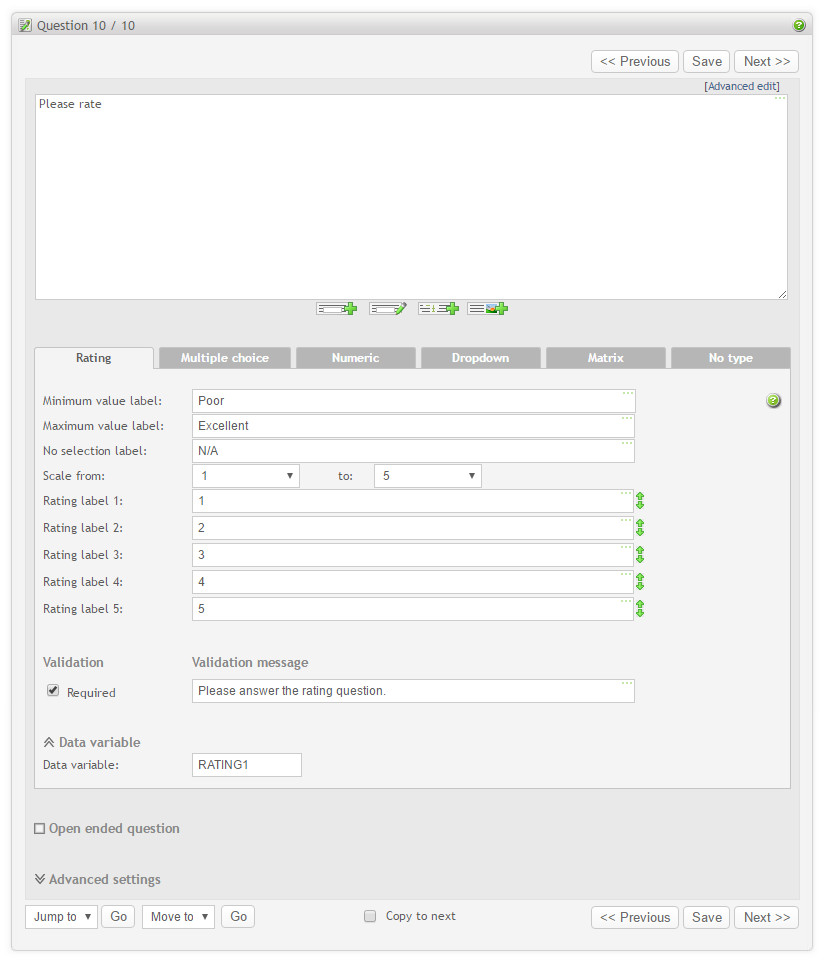
The question text is entered in the big text box. The tabs below lets you choose between the main question types:
- Rating: Lets the respondent enter a value on a scale.
- Multiple choice: Lets the respondent select one or more items among a set of choices.
- Numeric: Lets the respondent enter a numeric value.
- Dropdown: Lets the respondent select a value in a drop-down list (also called selection list).
- Matrix: If none of the basic question types fit your needs, use the matrix. This allows for extreme flexibility.
- No type: None of the other types. Use this if you do not want any input for your question, or if you want to add a text-box. See the settings further down the screen for this. It is also possible to enter input fields and buttons directly into the question text itself (see In-text elements .
Select the question type, then set the various options for this type. Click on "next" (top or bottom of the main content box) to create the next question, or "finish" if you are done creating questions.
-
After finishing your questions, you will enter the question list screen. This screen will let you organize your questions, by moving, deleting and editing them. This screen is also used to insert and manage survey sections and pages.
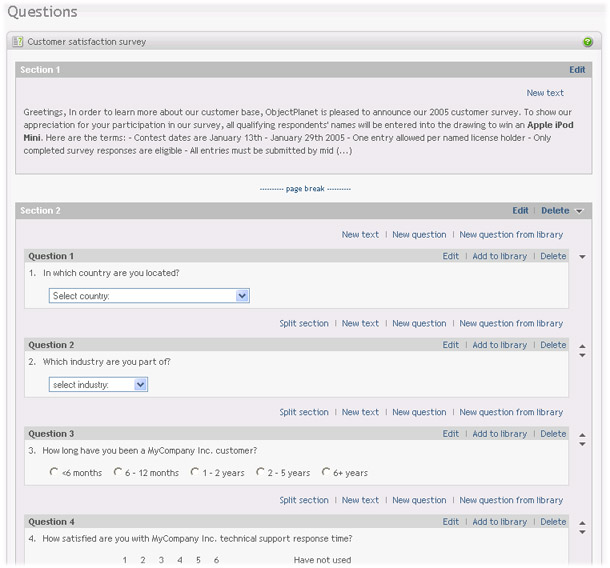
Keep in mind that you can at any time click on "Preview Survey" in the menu box to see what the survey will look like for your respondents.
- Once the questions are made, you can go on to customize the survey settings. You can change the survey look & feel, behavior, etc. In this quick guide, we will let all survey features stay at default settings.
-
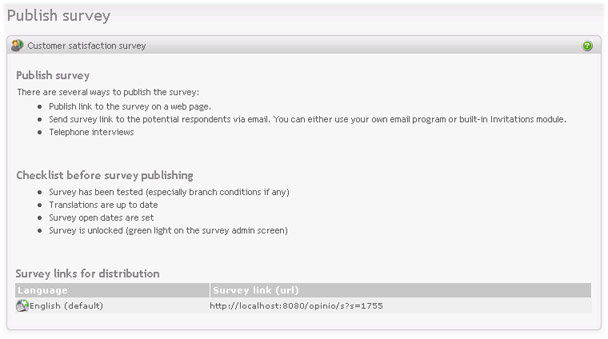
You have now created your survey! Now let's look at how to publish it. Or in other words, how to make it available to your respondents. Click on "Back to survey" in the menu box, then click on "Publish survey". You will get this screen:
-
A survey can be published in several ways:
- Send the survey URL (the address of the survey), as written in the screen above, to your respondents by email.
- Use the Opinio built-in invitation feature to send your survey invitations. This allow you to track your invitees (who responded, who did not), send reminders automatically to those who did not respond, add custom data etc.
- Perform telephone interviews. This means that the telephone interviewer asks the questions, and enters the responses as given by the respondent.
- Post the survey URL on a web page. If you do not know how to do this, ask your webmaster to do it (the person who is responsible for maintaining your web site).
- Reports are available live while respondents are completing your survey. This allows you to monitor the progress, and invite more people to take the survey if needed. See Reports and data analysis for more information about reporting.
- This was the basic steps for building a survey. Opinio offers a wealth of possibilities for creating, designing, publishing surveys and reporting the collected data. See other sections of this documentation for more details.